Step-by-Step Guide to DIY Hail Damage Assessment and Repair
- Auto
Aaron Healy
- 0
- 9 minutes read
Hail can leave its mark on your vehicle in the form of dents and dings that can diminish its appearance and reduce its value. While professional repairs are often recommended, understanding how to assess and potentially address minor hail damage yourself can save you both time and money. This comprehensive guide provides a step-by-step approach to DIY hail damage assessment and offers tips on how to handle minor repairs safely and effectively.
Assessing the Damage
Step 1: Clean Your Vehicle
- Before assessing the damage, ensure your vehicle is clean. Dust and dirt can obscure dents, making them harder to identify.
Step 2: Choose the Right Lighting and Environment
- Perform the assessment in a well-lit area. Soft lighting at a low angle is best as it casts shadows in the dents, making them more visible.
- Alternatively, use a fluorescent lighting tube or a reflector board specifically designed for assessing body damage.
Step 3: Mark the Damage
- Use a washable marker to circle every dent you find. This will help you keep track of all areas needing repair and assist in planning your repair strategy.
Step 4: Measure the Dents
- Use a ruler or measuring tape to gauge the size of each dent. Document these measurements; they are crucial for determining whether DIY repair is feasible.
Preparing for DIY Repair
Step 1: Gather Your Tools
- For minor dents where the paint has not been cracked, a basic paintless dent removal (PDR) kit can be effective. These kits typically include tools like suction cups, glue sticks, glue gun, pulling tabs, a pulling bridge, and a knockdown tool.
Step 2: Read the Instructions Thoroughly
- Each PDR kit might have slightly different tools and methods. Familiarize yourself with the specific instructions provided with your kit.
Conducting DIY Repairs
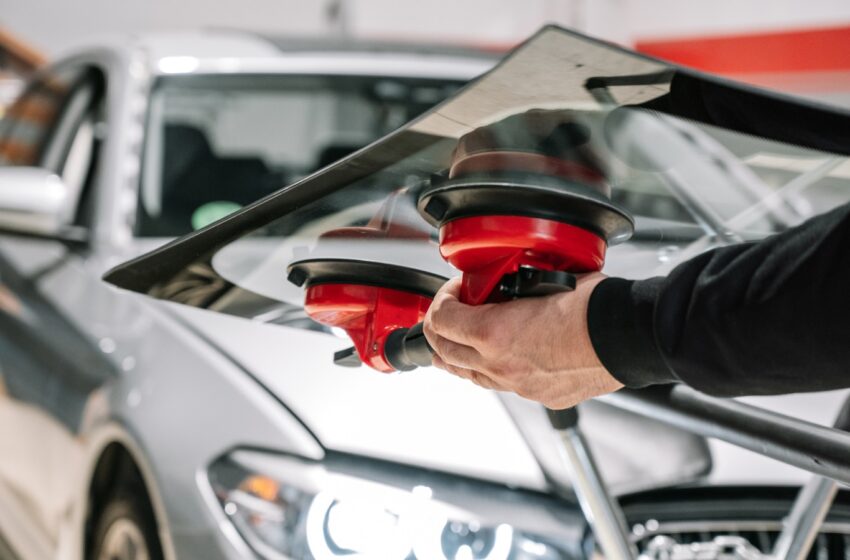
Step 1: Applying the Tools
- If using a suction tool, place it at the center of the dent and pull out gently until the dent pops back into place.
- For glue-based tools, apply the glue to the pulling tab, attach it to the dent, and use the pulling bridge to lever the dent back into shape.
Step 2: Finishing Up
- Once the dent is corrected, use the knockdown tool to smooth out any high spots.
- Remove any residual glue with a suitable solvent that will not damage the car’s paint.
Safety and Precautions
Step 1: Be Cautious with Tools
- PDR tools require careful handling to avoid further damage to your vehicle or injury to yourself.
- Wear protective gloves to handle sharp tools or when using solvents.
Step 2: Know When to Seek Professional Help
- If dents are deep or located near the edge of panels where the metal is double-layered, these areas are difficult to fix with DIY methods and typically require professional equipment and expertise.
- Any dents that have damaged the paint or are larger than a few inches across should be professionally repaired to prevent rust and further damage.
Aftercare and Maintenance
Step 1: Protect the Repair
- After DIY repairs, it’s essential to protect the area from elements. Apply a wax or sealant to help preserve the paint.
Step 2: Monitor the Repair
- Keep an eye on the repaired areas over the next few weeks. Changes in temperature and vehicle use can sometimes cause a dent to reappear, especially if not perfectly corrected the first time.
DIY hail damage repair can be a feasible option for minor dents and dings, provided the paint is intact and the dents are not overly complex. By carefully assessing the damage and using the right tools, you can maintain your vehicle’s aesthetics and integrity without the need for expensive professional services. However, it’s crucial to recognize the limits of DIY repair and to consult professionals when the damage exceeds what can be reasonably handled at home. Remember, preserving the quality of your vehicle’s appearance and function is paramount.